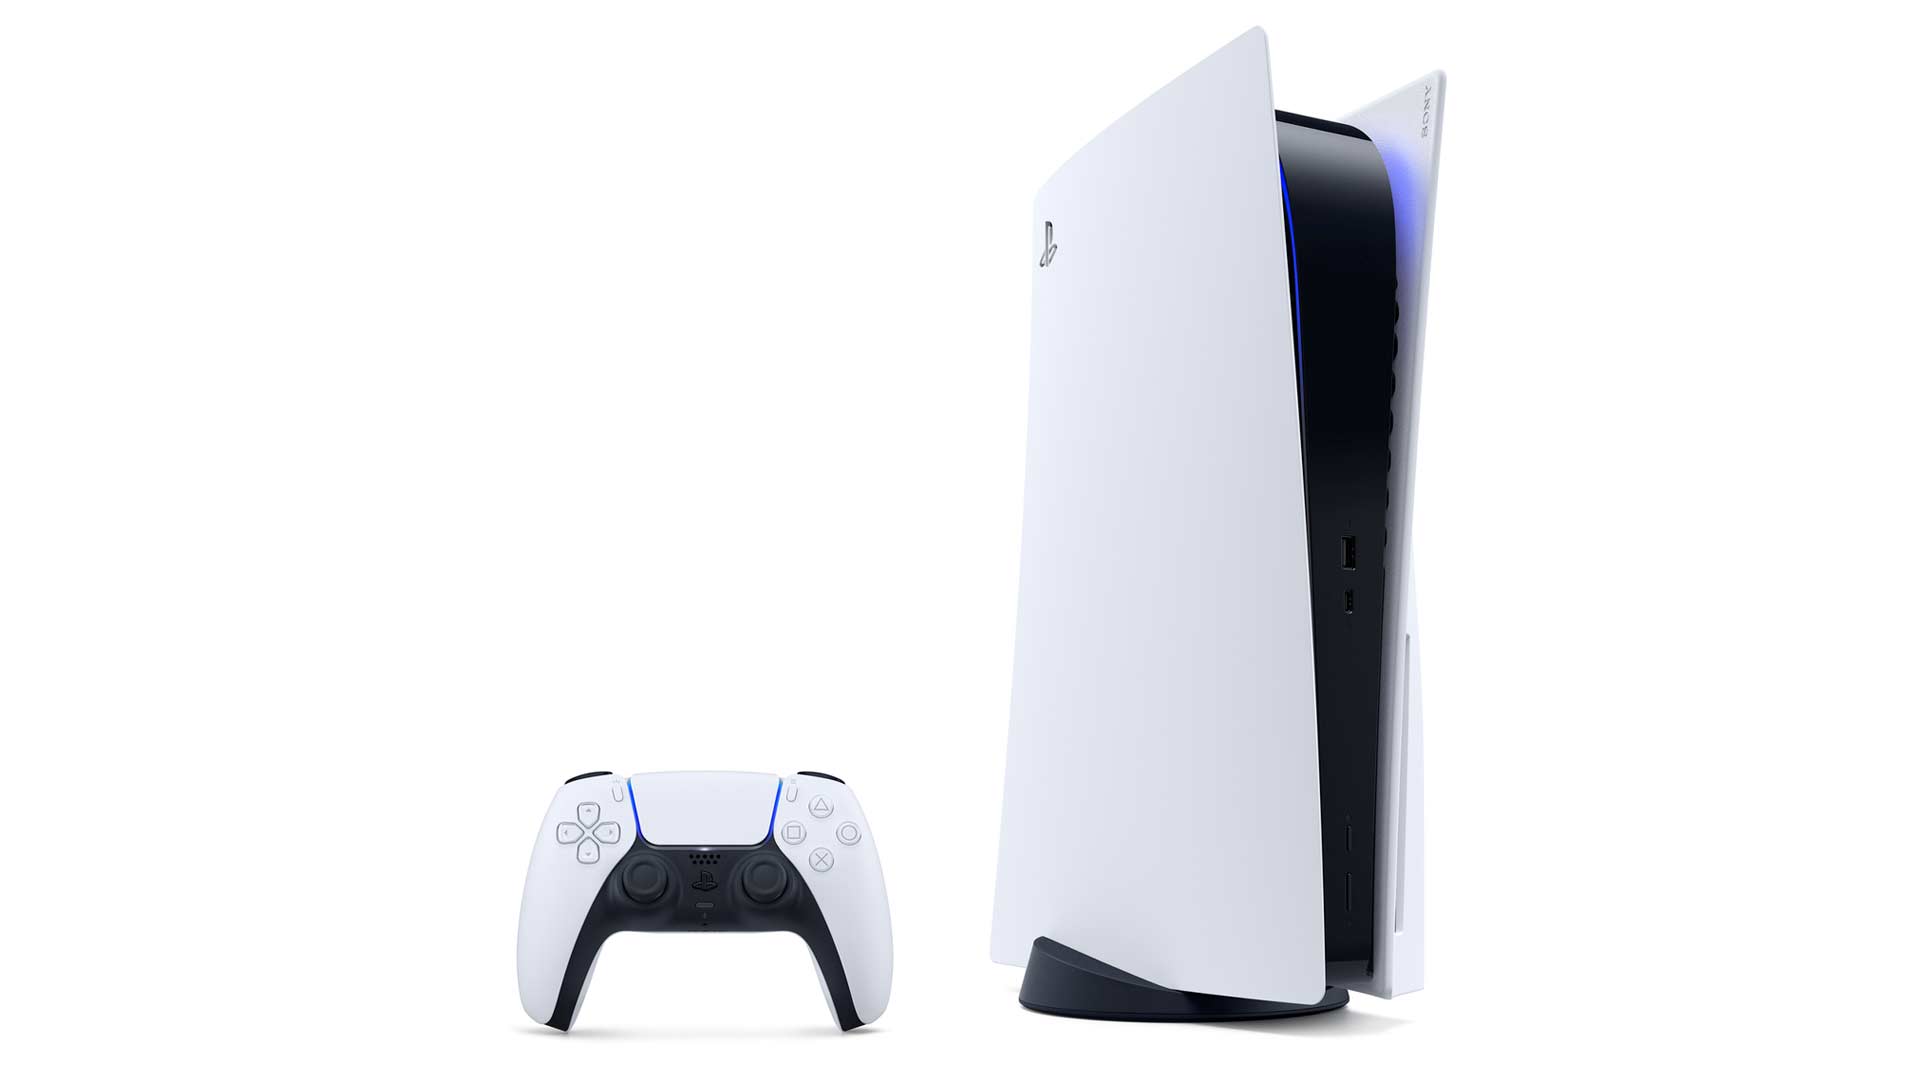
PS5 Storage Upgrade SSD: How to Install FireCuda 530

October 22, 2021 at 4:44pm
By Jason Stettner

We’re finally able to upgrade PS5 storage, and Seagate was happy to work with me in regards to showcasing just how you’re able to do so. With the FireCuda 530 NVME SSD we’ll be going over the steps for safely adding this into your next generation Playstation 5 console. It’ll allow you to play your fresh and future games that require the better storage to run.

It’s not too complicated of a setup, but it can definitely be something that might make some struggle due to it being more like opening up a standard desktop PC. It’s honestly best to watch the video below as that will simply and visually showcase things but I’ll describe the process as well for those that enjoy reading the steps instead.


1. Make sure you have a M.2 SSD compliant storage.
You need certain speeds with an interface that is PCI-Express Gen4x4 supported. The storage is limited to between 250GB to 4TB at the current point of writing. The reading must be 5500MB/S or faster for best results. There should also be a heatsink attachment or similar.

2. Screwdriver: #1 Phillips or cross head screwdriver.
Alongside getting the right size as not to strip the screws, do make sure your environment is static free. Also, do make sure your Playstation 5 has cooled off prior to opening it.

3. Remove the face plate.
Set the PS5 console down so that the disc tray is facing upwards. Use your right hand to grip the bottom right corner of the device and then use your left hand to grip the edge of the top left portion of the cover. Then gently lift the cover up with your right hand and slide with the left thumb. It should come off relatively easy, do not force it.

4. Remove the case screw.
This is a small straight forward metal covering right below the big fan area, fairly easy to spot.

5. Remove the internal screw and space.
You’ll want to remove both of these items, then place the spacer onto the correct slot for the size of your specific NVME SSD stick. Just the open spacer for now.

6. Slide the stick into the slot. It should sit in there snuggly and sort of hover over where you’ve placed the space. You’ll then screw it in, being snug but not too tight for that aspect.

7. Cover it up. This part should be fairly straight forward, add the metal place back on and then slide the Playstation 5 face cover back onto the console. It’ll give you a bit of a satisfying pop type of sound when it’s secured again. Then you’re good to go!

8. Turn the PS5 on.
If you’ve done things properly and your SSD is compliant you’ll get a prompt when you turn on the console to format the device and you’re good to start playing. Enjoy your next gen gaming experience.

I hope you found this helpful, the video is typically best for seeing this all in action. At least, that’s my opinion on the situation but I hope the written steps helped as well. Be careful with your console as they are expensive in the current era of writing this.

It’s all about being able to game more, and the FireCuda 530 is a perfect choice for doing so. You can find more cool stuff from the various links below including a review of a launch game alongside the general hub for all things on the platform.

Read our Marvel's Spider-Man: Miles Morales Review
View our Playstation Hub

PS5 Storage Upgrade
Gamerheadquarters Reviewer Jason Stettner