Tell Me Why Collectibles Guide
Release Date: August 27, 2020
Platforms: Xbox Series X, Xbox One, PC
Publisher: Xbox Game Studios
Developer: DONTNOD Entertainment
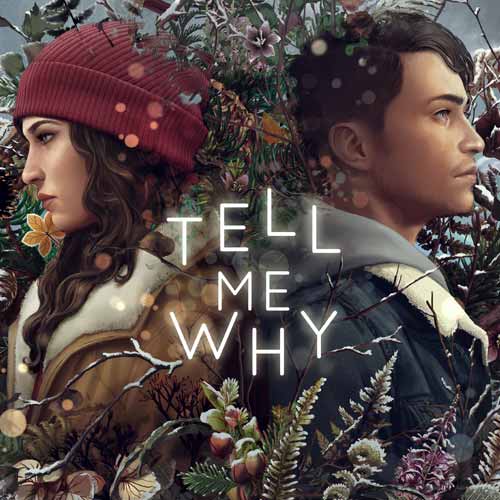
Tell Me Why is the latest DONTNOD Entertainment narrative driven experience. It follows twin as they deal with dangerous secrets from a decade ago in order to understand their grief and move forward in life. There are mysteries, fun dives into the past and very emotional twists at every turn. Players will make choices that directly alter the overall experience of the game.
The game features a number of special statues to gather over the course of the story. These have a special end game feature within the actual experience so they’re great to get. The episode 1 chapter has five collectibles to gather. The episode 2 chapter has five collectibles to gather. The episode 3 chapter has three collectibles to gather. At the end of the game you’ll have an area of tree stamps where you can place these down. There’s both a written and video guide to finding these below.
Tell Me Why Episode 1 Collectibles Guide
"Chapter 1"
#1 Crafty Goblins
This is a two part figurine gathering segment and the easiest since you sort of need these to progress in the story. At the start of the game as Alyson you’ll head over to your bed and underneath it is a box and the first goblin friend. You’ll then play as Tyler and find the second goblin on your desk.
#2 The Mad Hunter
This one is found when you’re underneath your house. It’s to the right side of the fork in the road. You’ll find it nestled behind the generator and it’s very much out there in the open. It’s an easy to navigate maze, but again to the right instead of the left when you’re moving through it from the entrance.
#3 The Wise Princess
This is available within your mother’s room, it’s to the right hand side of the bed and very easy to spot. The puzzle for the door is Moose, Bear, Pelican.
#4 The Pious Pelican
This one is found within the store, you will need to progress somewhat into the discussion in order to get it. It’s in the back room area, inside the large cupboard behind the individual you’re there to talk to. You’ll find it on a shelf.
#5 The Ice King
This is available within the police department towards the end of the episode. It’s in the backroom area past the kitchen. This is a spot you have to go into, so it shouldn’t be too hard to find. It’s located behind the desk on the right hand side of the room.
"Chapter 2"
#1 The Big Frog
This is an easy find, it’s available right under the desk in the home. You can get it from the moment you’re able to start walking. Head to the right and into the sort of living room area. There’s a large table there with sitting room around it, not to be mistaken for the kitchen dining table.
#2 The Stalwart Moose
The second collectible is available in the police station, you’ll find it in the left hand drawer of the desk within the office that you need to visit. This is an area you have to go to in order to find story based information. It’s Alyson’s uncle’s office for further context.
#3 The Mangy Muskrat
A little bit later on story wise you’ll find this in the stock room of the shop/convenience store. It’s beside the fridge just sitting out there on a shelf. It’s a very obviously open and available collectible. For further context, it’s beside the chill area of the stock room.
#4 The Very Old Beaver
This might be the hardest one to collect. It’s found at the far back of the chilled cemetery. It’s cold as in there’s lots of snow and the atmosphere is most certainly chilly. At the absolute far back left of the cemetery you’ll find a grave you can interact with beside a fence. Behind it is a box, and in that very box you’ll find the collectible. It’s hard to pick out, but to the right of the area is the last spot you can visit to trigger a story related continuation.
#5 The Moon Hag
Within the shed after a certain destructive event head into the far back room behind the main area and you’ll see the collectible sitting to the right lower cupboard. It’s very visibly once you enter that smaller garage room.
"Chapter 3"
#1 The Secret Keeper
Progress a little within the initial area with Alyson. Head into the uncle's room to interact with a box on the shelf. Once you're done go into the common area to grab your wallet, make sure to collect the coins. Take that coin into the uncle's room and use it on the box found within the shelf.
#2 The Old Bear
This is found when talking to the older gentleman about your parentage (kept this spoiler free). When you're taken upstairs, instead of talking to him head over to the desk and open the drawer.
#3 The Gold Lady
Puzzle based towards the end of the episode at the giant painting at the far end wall. Click the differences; "Title", "Castle", "Hand", "Girl", "Tree". Then the door opens, and it's in there.

 Xbox
Xbox Playstation
 Nintendo
 PC
PC Mobile


