
- Menu
-
 Xbox
Xbox- Xbox Reviews
- Xbox Game Pass
- Games with Gold
- Backwards Compatible Games
 Playstation
- Playstation Reviews
 Nintendo
- Nintendo Reviews
 PC
PC- PC Reviews
 Mobile
- Mobile Reviews
Xbox
The Xbox family of consoles from Microsoft featuring the Xbox Series X/S.
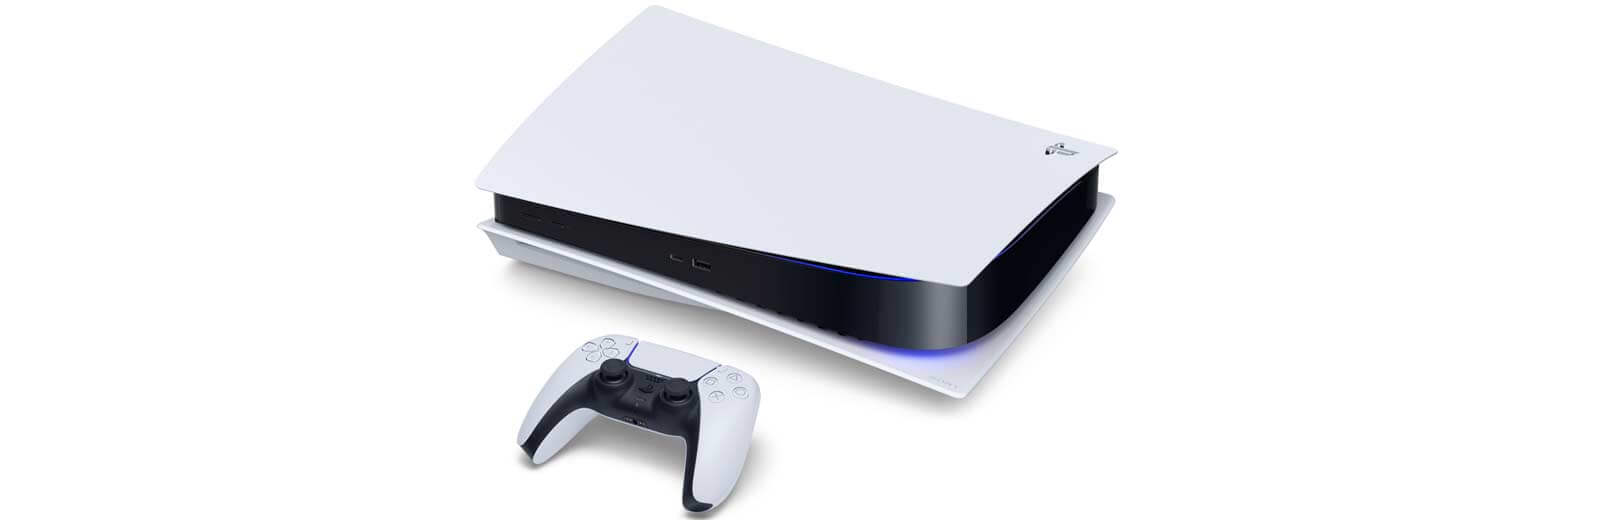
Playstation
The Playstation family of consoles from Sony featuring the PS5.
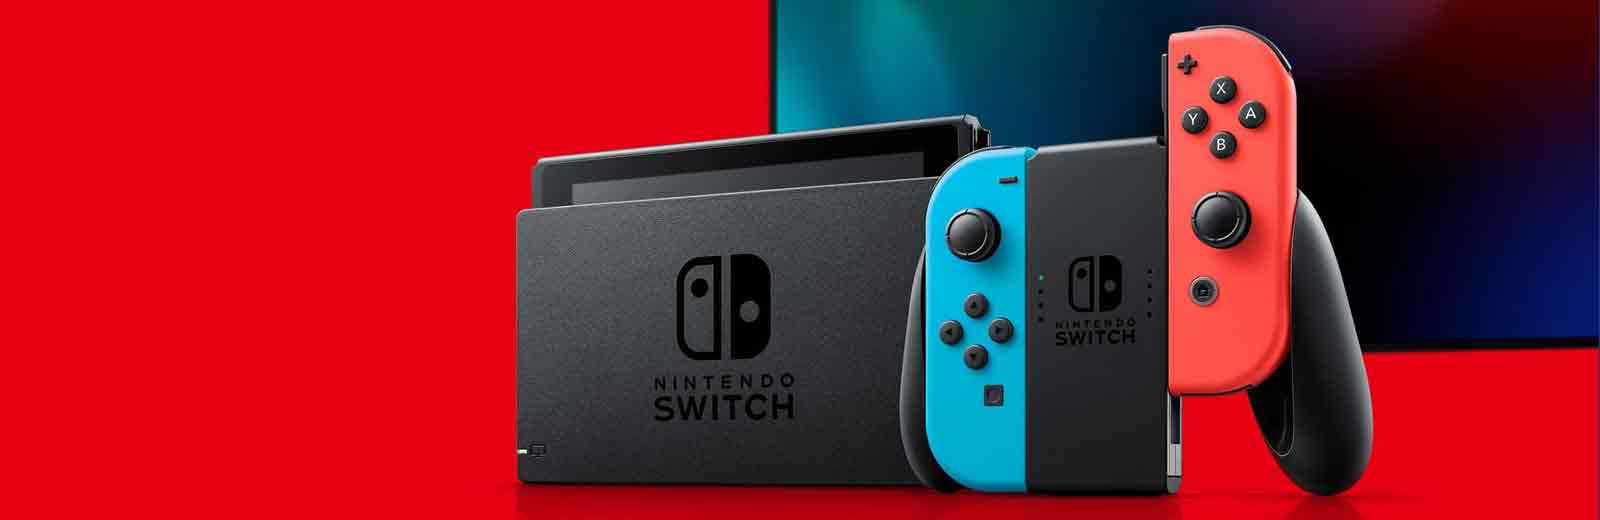
Nintendo
The Nintendo family of consoles from the company featuring the Switch.
PC
The PC collection of never ending upgrades and high end visual options.
Mobile
The Mobile options featuring IOS and Android devices that continue to evolve.
-
- Call of Duty
- Call of Duty Hub
- Modern Warfare
- Black Ops
- Mobile